|
BILL'S PERAK PROJECT (Part 3)
|
|
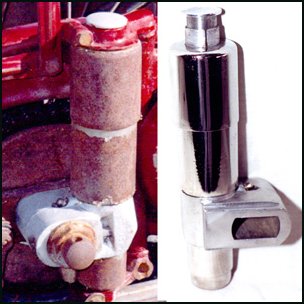
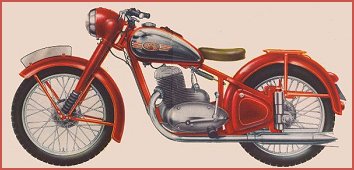
There's always, however, a "however." Caswell is quite clear in their instructions that PREPARATION IS EVERYTHING! And therein lies pretty well all the work and 98% of the frustration. There was really nothing I was chroming that wasn't pitted from rust - some pieces fairly badly. So the challenge was to make sure I got each piece super smooth before I actually plated it. That was, indeed, a challenge.There's basically two ways to go with getting it "super smooth." One is to grind/sand stuff down to a nice smooth surface. The other is to fill in the pitting with lead-free solders (available from Caswell) and then sand to a nice smooth surface. Grinding down is infinitely easier - but it means getting rid of a lot of metal thickness (although in the process it does get rid of the old chrome). My concern with doing that was either grinding right through the piece or compromising metal strength. So, with rare exception, I opted to fill the pitting.Well, the lead-free solder won't adhere to steel directly - but it will to copper plating. To do that meant first the Copy Chrome strike coat and then the copper plating. However, before the Copy Chrome can be plated onto it, the piece has to be prepared - old chrome off, absolutely all rust gone and totally degreased. That's mostly accomplished with hydrochloric acid pickles, electrical current and a heated degreaser supplied in the Caswell kits. |
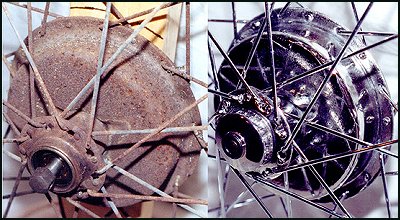
What kept me going with it was seeing a pretty ratty pitted piece evolve into a drastically improved chromed part even though it might still have some pitted areas. I got a lot of satisfaction with the buffing part of the process. Good thing because the buffing is a large part of the time commitment. It really was a lot of fun bringing up a brilliant final shine on what I had done.When I started the chroming process I began with the small pieces that were the least pitted. Eventually I got down to both wheel hubs and the gas tank. The wheel hubs seemed to take me forever trying to fill the pitting. The front hub was a real bear and I had to eventually accept that I couldn't get all the pitting filled. Ultimately, it ended up being decently plated but there is still some visible pitting that I'll have to live with - unless, of course, I can find another front hub that isn't pitted. |
|
|
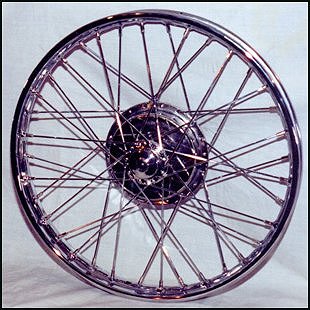
At that point I took the wheel out of the jig - even just finger tight it was surprisingly rigid. Then, of course, I had to stand back and just look at it. It looked great!To true it up I clamped the axle into my bench vise with the wheel rotating vertically adjacent to the side of my workbench. I could put a marker on the bench right up to the rim so even the slightest wobble could be detected when the rim rotated. Then it was a process of tweaking appropriate spokes to get it all lined up nice and true. It really wasn't that hard to figure out which spoke to adjust. After the wheel was trued, I tapped my way around the spokes making sure each spoke sounded reasonably close to the same tension. Actually, it didn't take much to get them uniform and the wheel stayed true. |